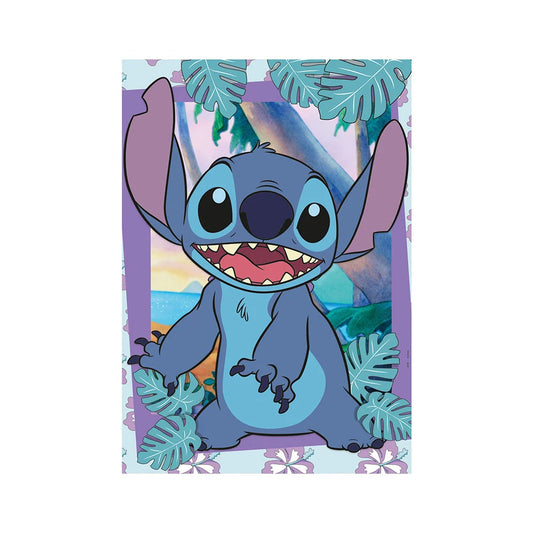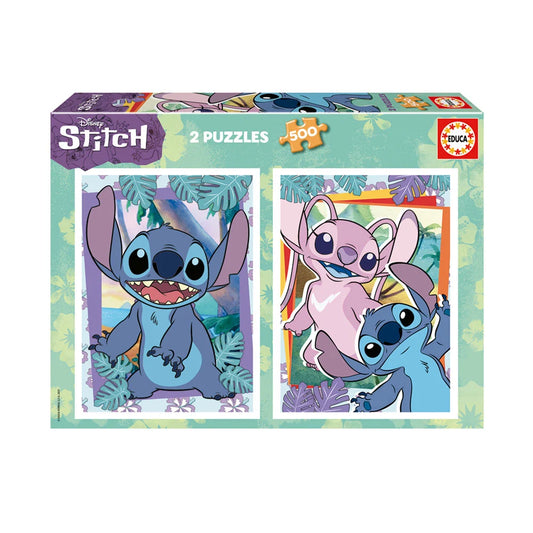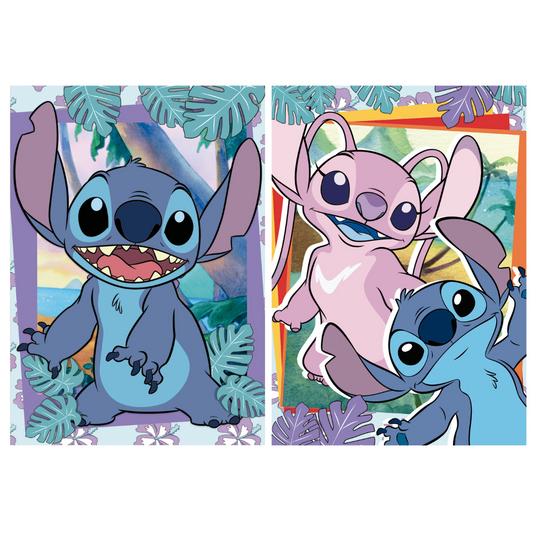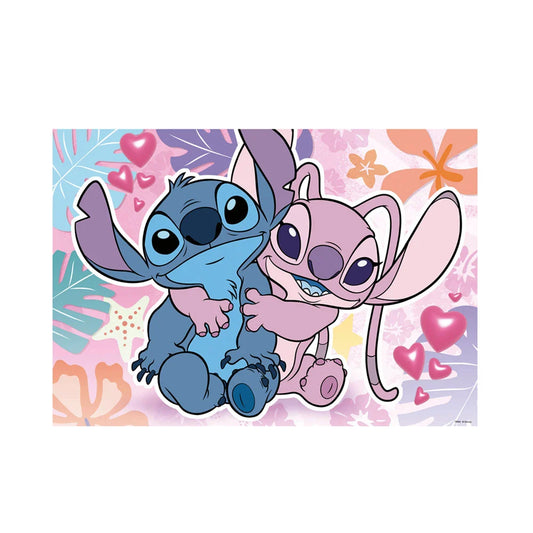
There is something irresistible about the image of Stitch smiling among 1000 little pieces that, spread across the table, promise hours of focus and smiles. A puzzle with this many pieces feels like a good challenge for the mind: accessible to those who are starting to take the hobby more seriously, and at the same time rewarding for those who already have several completed boxes on the shelf.
If the Disney universe is part of your everyday life, doing a 1000-piece Stitch puzzle is almost a ritual. And it is not just about the look. The character's vibrant blue, the tropical settings and the illustrated details have a calming effect while also calling for careful attention to color and shape.
What makes a good 1000-piece puzzle
There is a rare balance at this size: enough to fill the table and your head, yet still manageable over a couple of weekends. Quality, however, changes everything.
- Cut: unique pieces with few repeated shapes minimize mistakes.
- Fit: feeling a snug click with no gaps avoids frustration in the final stage.
- Print: sharp colors with no variation between batches keep Stitch true to the original artwork.
- Finish: matte surfaces reduce glare; a strong gloss can tire your eyes.
- Cardboard: consistent thickness and sturdy pieces stand up to being assembled many times.
The final size matters too. Although 1000 pieces sounds like a standard, the dimensions vary between brands, which affects the frame you need and the space on the table.
Stitch as a puzzle: color, light and challenge
Stitch's palette is rich in blues, lilacs and soft shadows. Alongside him, palm trees, flowers and tropical skies. That means areas with distinct patterns, but also blocks of similar color.
- The ears, with pink and lilac gradients, are great anchor points.
- The shiny, almost black eyes work as region markers.
- The blue fur can be challenging. Look closely at the variations in texture and lighting.
Images with a very uniform background are more demanding. If you prefer a steady pace, choose an illustration with varied elements: wooden boards, leaves, waves, lettering. The more objects, the more visual clues.
How to choose the right Stitch puzzle
Before you click buy, it is worth measuring your space and thinking about the experience you want. Do you want a puzzle for a relaxed weekend or something to work on throughout the month? Do you prefer dense, non-glossy colors or more vivid finishes?
Practical criteria:
- Final size: check the measurements on the back of the box.
- Official license: guarantees faithful artwork and quality printing.
- Brand reputation: cut, fit and customer support all count.
- Finish: matte to reduce glare under strong lighting.
- Included accessories: some brands include glue or a poster.
Comparison of popular brands
| Brand | Approx. final size (1000) | Cut and fit | Finish | Advantages | Watch out for | Average price in Portugal |
|---|---|---|---|---|---|---|
| Ravensburger | 70 x 50 cm | Firm, click-style fit | Soft matte | Thick pieces, precise cut | Box art not always 1:1 with the poster | Mid/high |
| Clementoni | 69 x 50 cm | Consistent cut | Semi-matte | Rich printing, frequent Disney editions | Slightly thinner pieces | Mid |
| Educa | 68 x 48 cm | Uniform cut | Matte | Good value for money, glue in some kits | Occasional cardboard dust | Mid |
| Heye | 50 x 70 cm (portrait) | Creative cut | Matte | Fun artwork, varied formats | Non-standard dimensions | Mid/high |
| Trefl | 68 x 48 cm | Comfortable fit | Moderate gloss | Friendly prices, bright colors | Glare under direct light | Affordable |
| Bluebird | 68 x 48 cm | Solid cut | Matte/semi-matte | Sharp printing, compact boxes | Variations between batches | Affordable |
The sizes shown are approximate. Check the product label to make sure it is compatible with mats, puzzle roll-ups and frames.
Preparing your table and your mind
A puzzle goes better in a space that respects ergonomics and light.
- A stable, clean table with room for sorting trays.
- Diffuse, cool light with no glare, to tell blues and purples apart.
- A comfortable chair and short breaks. Your shoulders will thank you.
Small pieces of equipment that make a big difference:
- A felt mat or a sliding puzzle board.
- Trays or plates to subdivide pieces.
- A roll-up mat to save your progress without taking it apart.
- A soft brush to sweep dust off the cardboard.
- A clear cover if you have curious pets.
An assembly method that works
Everyone has their own style, but a consistent sequence speeds up the pleasure of making progress.
- Edges first. Separate all the pieces with a straight side and build the frame. Make sure the final size fits on your chosen base.
- Large color areas. Pick out the eyes, ears, florals, lettering or well-defined scenery elements.
- Group by texture. Darker blue fur, highlights, shadows, wood grain, leaves, sky.
- Shape before color when the colors get confusing. Some brands offer very distinct connector shapes.
- Rotate areas. Alternate easy zones with more demanding sections to stay motivated.
- Micro-goals. 15 minutes for an ear. 20 to finish a flower. Dopamine does the rest.
A practical detail: turn all the pieces face up before you start building zones. It saves time later on.
Techniques for Stitch's blue areas
The bluest part of the puzzle is often the one that tests your patience. Instead of trying piece after piece at random, use a visual and tactile approach.
- Sort by intensity of blue: light, medium, dark.
- Look for the fine lines in the illustration: brushstrokes, strands of fur, rounded highlights.
- Sort by shape: the number and orientation of the connectors (two tabs, two blanks, T, cross).
- Use the negative: identify the missing outline in the puzzle and look for its inverse in a tray.
- Try a mental grid: divide the image into 4x4 sections and work block by block, referring to the poster.
Pieces with very similar cuts call for calm. A good test is to lift the puzzle a few centimeters with your hands underneath and shake it gently. If something pops out, it was probably fitted wrong.
How to estimate assembly time
Differences between images, cuts and experience make any forecast imperfect, but it can still help you plan.
| Profile | Experience | Typical time for 1000 pieces |
|---|---|---|
| Beginner | Does puzzles occasionally | 10 to 20 hours |
| Intermediate | 1 to 2 puzzles a month | 6 to 12 hours |
| Advanced | Weekly routine and techniques | 4 to 8 hours |
| As a family | Saturdays and Sundays | 2 to 3 long sessions |
Tight schedule? Do sessions of 25 to 40 minutes with breaks. Your focus comes back fresher, and your progress stays steady.
Accessories that take the experience up a notch
Some extras seem unnecessary until you try them.
- A roll-up felt mat: protects the puzzle and lets you store your work in progress.
- Stackable trays: tidy organization by color and shape.
- A desk lamp with adjustable color temperature: true colors without eye strain.
- Thin cotton gloves for those who want to avoid fingerprints on glossy finishes.
- Acrylic or fabric covers to protect the table between sessions.
If you like to record the process, a phone stand and a time-lapse make an original album of memories.
Gluing and framing: turning your puzzle into art
Not every puzzle needs a frame, but a well-assembled Stitch looks great on the wall of a creative office or a bedroom.
- Choose glue made for puzzles. Educa and Clementoni have dedicated products.
- Apply it with a piece of card or a spatula, in a thin, even layer. Avoid bubbles.
- Let it dry for at least 2 to 4 hours before moving it.
- Mount it on foam board for extra rigidity.
- A 70 x 50 cm frame is a common standard for 1000 pieces, but check your puzzle's measurements. A mat board helps make up for differences of a few millimeters and gives an elegant finish.
If you do not want to glue it, use clip frames that hold it by pressure. They keep the puzzle intact and let you take it apart in the future.
Storing, cataloging and swapping
There is a collector's side that grows with the first full shelf. Keeping everything organized saves time whenever you feel like doing a puzzle again.
- A zip-lock bag for the pieces and a label with the brand, code and assembly notes.
- Silica gel in the box to reduce humidity.
- A rigid base to prevent warping.
- A mini catalog: date, time taken, difficulty level, notes on the cut and colors.
If you like to share, local communities and online groups swap puzzles in good condition. Simple rules help everyone: complete box, no bent pieces, no strong smells, a photo of the back in good condition.
Where to buy in Portugal
At Loja dos Puzzles you'll find a selection of officially licensed Disney Stitch puzzles from brands you know, such as Clementoni, Educa and Trefl. If you want to see more characters, take a look at the Disney puzzles too and, for other images in this size, the puzzles up to 1000 pieces.
Look at the product photos and check the measurements before choosing. During the holidays, the most popular ones sell out fast.
Doing it as a family: collaboration that counts
Stitch has a gift for getting kids and grown-ups to look at the same thing. Make the experience a cooperative one.
- Assigned zones: each person chooses a part (edges, eyes, flowers).
- Tray rotation: switch colors every 15 minutes to balance the difficulty.
- The respect rule: no forcing pieces. If it does not fit, it does not go there.
- Small wins with a photo: every completed subsection deserves a snapshot.
For children, a same-size poster next to the puzzle helps connect what they see in their hand to the right spot in the picture.
Common mistakes you can avoid with simple habits
- Working under direct yellow light makes the finish shine and confuses the tones.
- Mixing pieces from different boxes on one board is a recipe for frustration.
- Leaving glasses on the table increases the risk of accidents. Water only with a lid.
- Ignoring mental rotation. Try turning the piece before giving up.
- Working for hours without a break lowers your success rate and your enjoyment.
One silent rule works wonders: when your brain says enough, listen.
Specific tips for Stitch images
The character is consistent, but the compositions vary. Read the artwork like a map.
- Ears: the transitions from pink to lilac form recognizable diagonal lines.
- Nose and eyes: the white highlight forms an identical curve in many editions.
- Fur: the belly and chest areas tend to be lighter than the arms and head.
- Scenery: Hawaiian flowers, large leaves and shirt patterns offer well-defined outlines.
- Lettering and Disney logos: typography and black outlines come together faster than areas of sky.
If the background is a night scene, the deep blue can get close to black. Use cool light and avoid shadows on the table.
Difficulty level by type of image
- Close-up portrait of Stitch: medium difficulty. Lots of face, eyes and ears give strong clues.
- Stitch in a scene with Lilo or surfing: medium to high difficulty. Water, foam and sky introduce gradients.
- Collage with multiple elements: low to medium difficulty. Lots of internal edges help.
- Minimalist illustration with a plain background: high difficulty. Fewer visual clues.
Choose according to your mood. There are days for calm blue and others for flowers and palm trees leaping off the table.
Sustainability and material quality
Recycled cardboard and water-based inks are increasingly common. They are worth it for durability and reduced environmental impact. Look for certification labels on the box and notice the smell when you open it: strong solvents are a sign of less eco-friendly inks.
Pieces with clean edges and little dust indicate cutting blades in good condition. If a batch comes with rough edges, a dry cloth helps clean them before you start.
A perfect fit: how to confirm a piece is in the right place
- Check the alignment of the image: lines and textures continue without jumps.
- Test the tension: it should hold if you gently lift the section.
- Look at the gap: an even shadow line all around indicates a genuine fit.
If two pieces look right but leave small, uneven gaps, there is a hidden mistake. Go back without hesitation.
A quick plan to choose and get started now
- Define your space and check the final dimensions of the puzzle you are interested in.
- Select the brand according to the cut and finish you prefer.
- Choose a Stitch image with a variety of elements if you want a gentle pace.
- Set up cool light and trays. Poster in view.
- Edges, visual anchors and then textures. Rotate areas.
- Regular breaks and water nearby. No rush.
A quiet evening, a soundtrack that warms your memories and 1000 small decisions that reward you along the way.
Stitch is waiting in the box, blue and smiling. So is the table.